- Cut the clear piece of tubing in half
- Affix each piece to one of the stepper motors
- Attach one motor to each Z-motor mount using four M3 washers and four M3x10 mm bolts per motor
- Adjust both threaded rods so that they lightly touch the Z-motor shafts
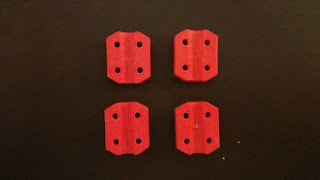
- Insert four M3 nuts into the two motor coupler halves with hex recesses
- Pair each recessed coupler with a non-recessed coupler
- Affix the threaded rods to the Z-motor shafts using one motor coupler pair, four M3 washers, and four M3x22 mm bolts per shaft
- Note: The inner groove of each coupler pair has a large diameter and a small diameter. The smaller diameter end is intended to couple with the motor shaft, whereas the larger diameter end is intended to couple with the threaded rod
- Lift the X-axis and tighten the top nuts until they engage the the bottoms of the X-idler and X-carriage housings
- With the X-axis still raised, lower the bottom two nuts until they reach the 608ZZ bearings and tighten the nuts onto each other
- Tighten the belt on the X-axis
This blog is intended to serve as a simple, straight-forward guide for building and using your own 3D printer. I created and continually update this blog for a simple reason: the current state of 3D printing is confusing and I feel that this discourages new enthusiasts. Hopefully the simplicity of this blog will encourage more people to take the plunge into the world of reprap and 3D printing.


