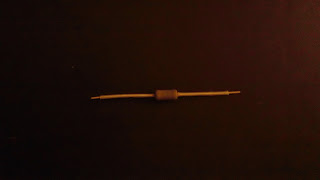
- Strip approximately 5 mm of insulation off the ends of all wires
- Slide the larger diameter sleeving onto the leads of the resistor. If needed, trim the sleeving so that approximately 5 mm of lead is bare on the contact ends
- Slide the smaller diameter sleeving onto the leads of the thermistor. If needed, trim the sleeving so that approximately 5 mm of lead is bare on the contact ends
- Insert ferrules onto the ends of the resistor and thermistor. Ensure that the sleeves are pressed tight against the resistor body and thermistor head and crimp half of the ferrule that is on the leads.
- Insert the black wire into the thermistor ferrules and crimp. Repeat for the red wire with the resistor
- Wrap the ferrules in kapton tape
- Crimp to molex leads onto the ends of the black and red wires
- Slide the red wire lead through the large hole on the J-head. Center the resistor body and bend the leads to run parallel to the body
- Insert the thermistor into the small hole on the J-head
- Secure the thermistor and the resistor to the J-head using kapton tape
This blog is intended to serve as a simple, straight-forward guide for building and using your own 3D printer. I created and continually update this blog for a simple reason: the current state of 3D printing is confusing and I feel that this discourages new enthusiasts. Hopefully the simplicity of this blog will encourage more people to take the plunge into the world of reprap and 3D printing.


